Frequently Asked Questions
Consolidated technical answers across CCR flooring, repair, and resurfacing services
This page pulls the strongest FAQ material across CCR’s service pages into one technical reference. The goal is simple: answer the questions facility managers, plant engineers, project managers, and commercial owners actually ask about concrete repair, epoxy, polished concrete, urethane cement, process, and pricing.
OR, TELL US ABOUT YOUR PROJECT:
Commercial-First
These answers are written for commercial, industrial, municipal, and institutional projects — not residential garage-floor marketing.
Prep Driven
Across nearly every system, prep, moisture review, and repair quality determine whether the floor performs long term.
System Specific
Epoxy, polished concrete, urethane cement, repair, and process planning each have different answers depending on the environment and substrate.
General
What kinds of facilities does CCR usually work in?
CCR’s real project history includes warehouses, loading bays, food-processing spaces, pharmaceutical manufacturing rooms, data centers, schools, churches, municipal facilities, pool decks, dealerships, restaurants, hangars, and commercial offices. That range matters because flooring systems are chosen very differently in a warehouse than in a food plant, lab, or public-facing facility.
How does a project usually start?
With a site assessment. CCR looks at slab condition, traffic, contamination, moisture, joint health, repair history, cleaning method, and shutdown constraints before recommending a system. That is why the company uses the language site assessment and expert consultation instead of offering a generic estimate without seeing the floor.
Why does CCR focus so much on surface prep?
Because most flooring failures start underneath the visible finish. In commercial work, prep includes grinding or shot blasting to the right profile, coating removal, joint and crack repair, moisture review, patching, cleaning, and sometimes flattening. The finish coat is the last step of the system, not the whole system.
Can work be phased so the facility stays operational?
Often yes. Many CCR projects are planned by room, bay, lane, or zone so part of the facility can keep running. The right phasing approach depends on cure time, dust control, traffic patterns, and whether adjacent operations can stay live without compromising the work.
Epoxy Flooring
What epoxy systems does CCR actually install?
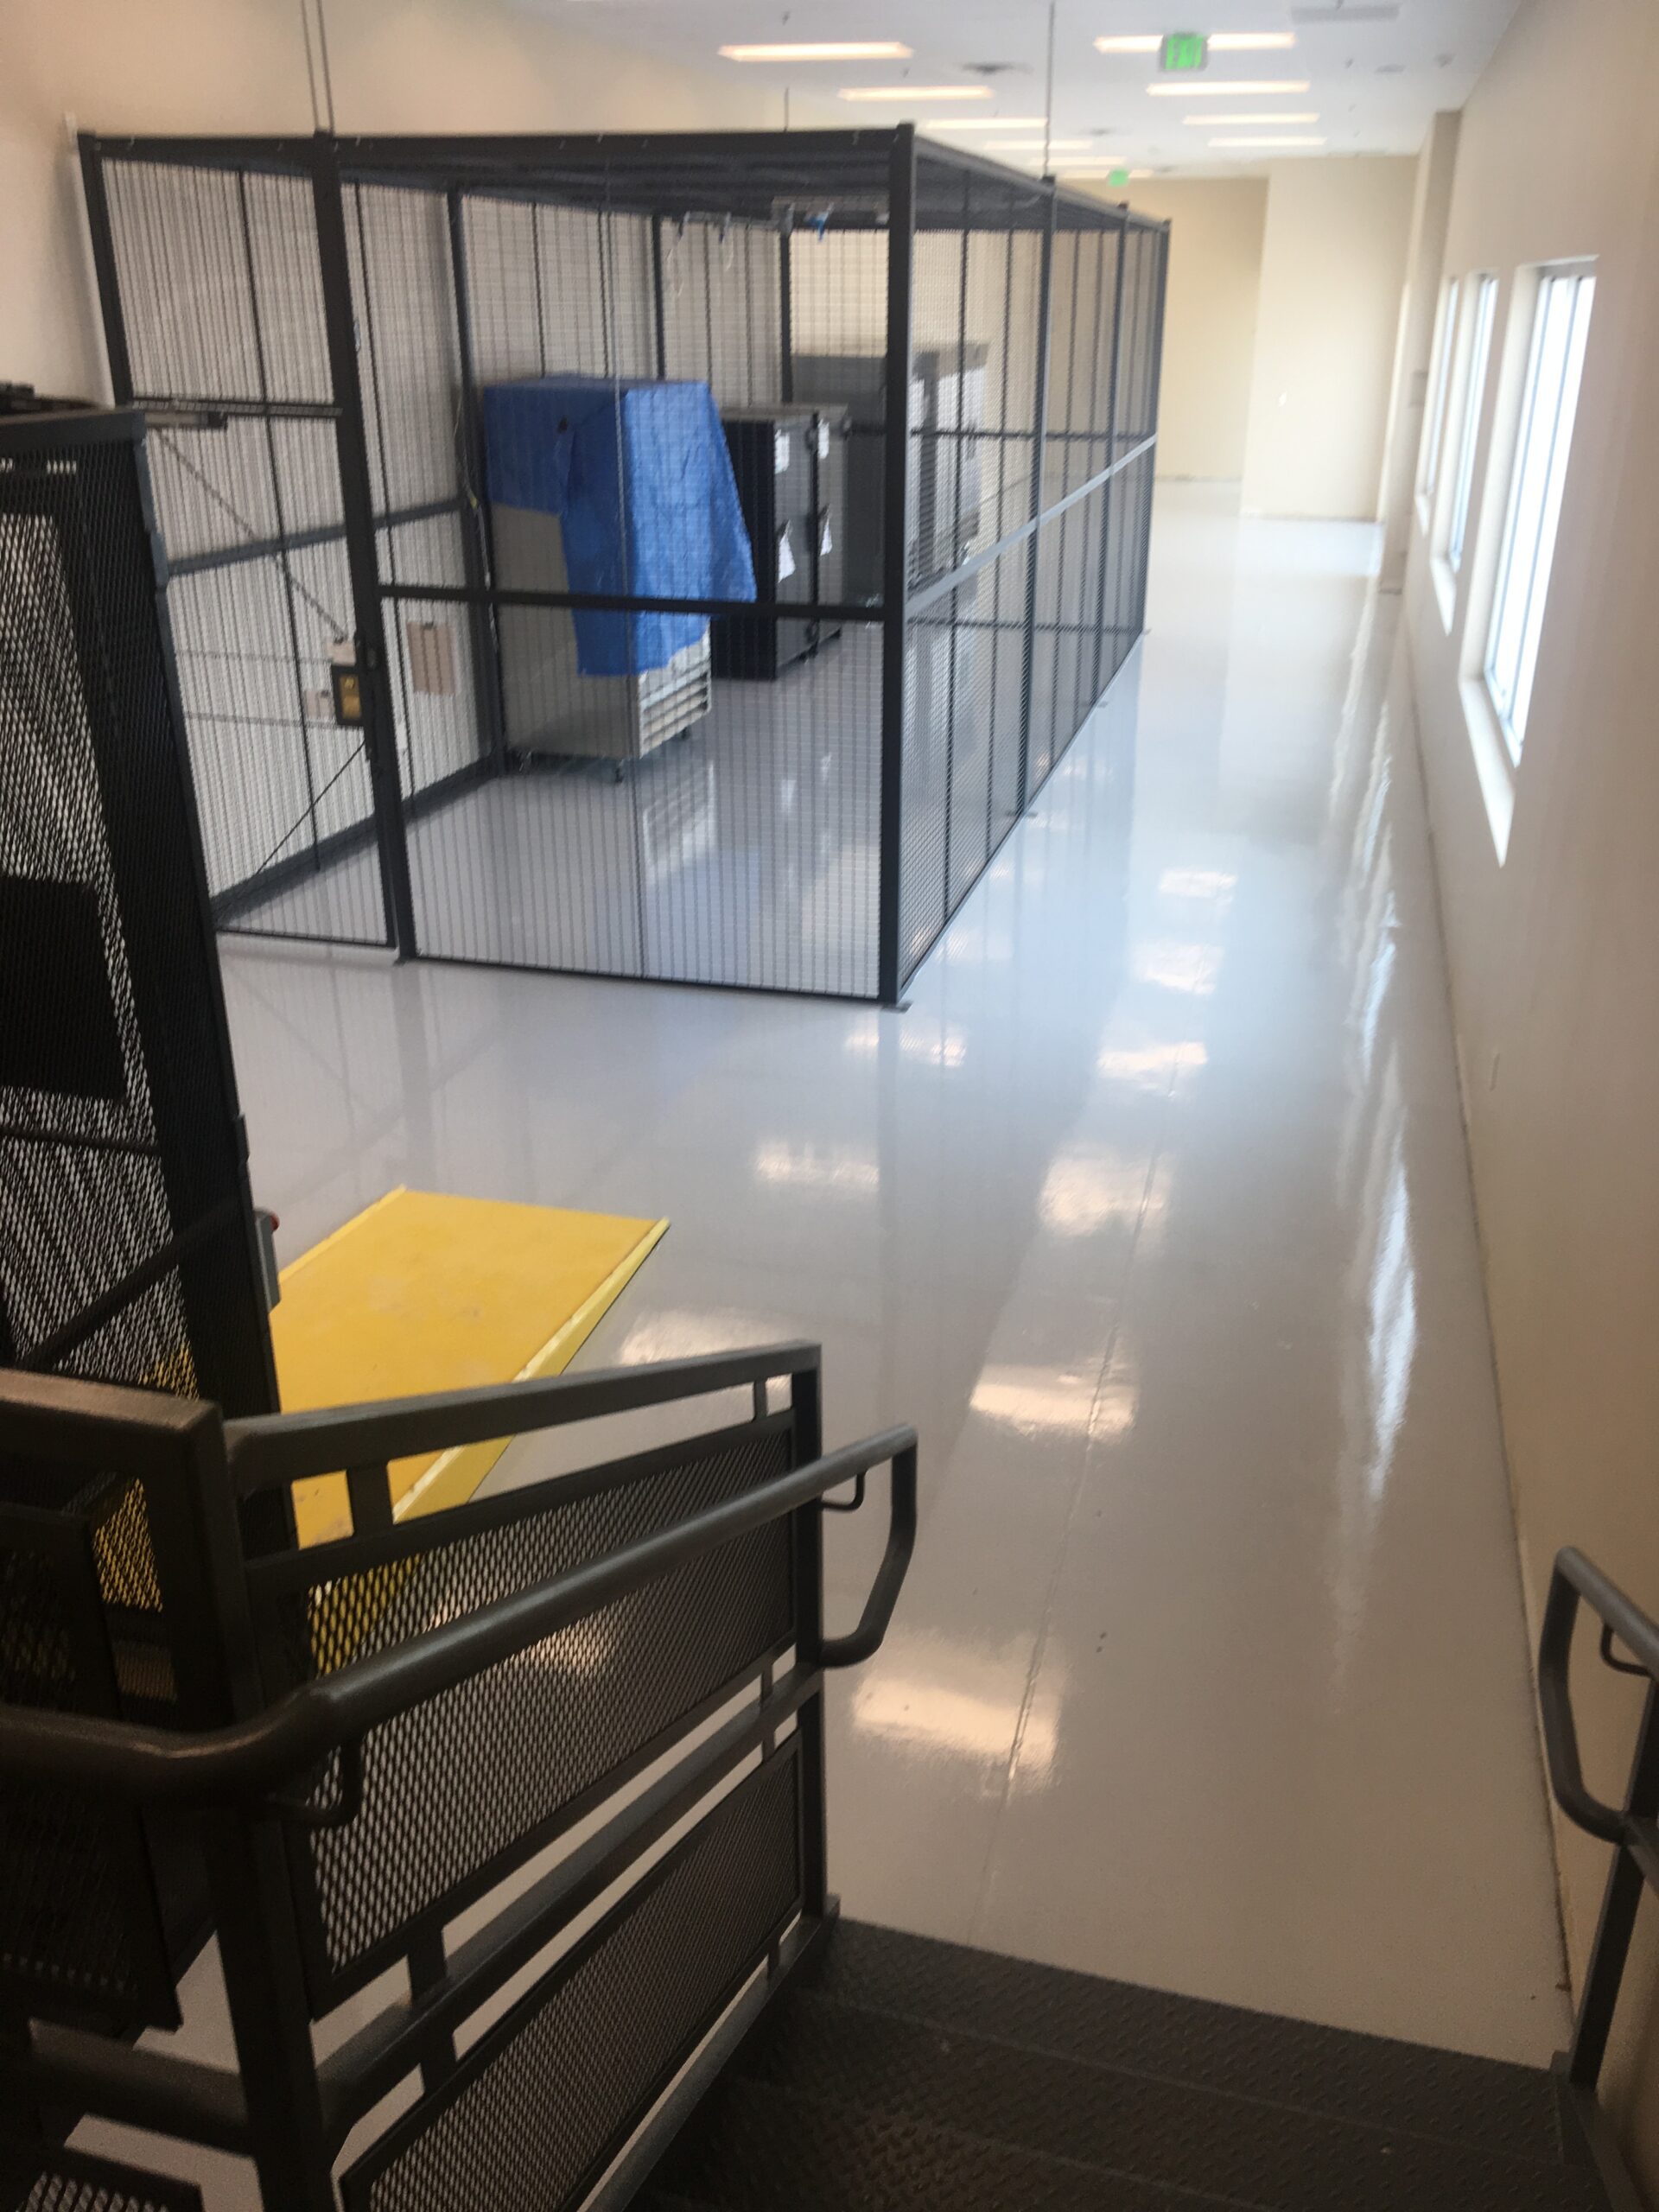
CCR’s Jobber history includes vapor barrier epoxy, LevelGuard EP build coats, novolac chemical-resistant epoxy, epoxy flake broadcast systems, quartz broadcast systems, metallic epoxy, self-leveling epoxy, and epoxy assemblies with urethane or polyaspartic topcoats where the exposure requires them.
Is polyaspartic better than epoxy?
Not as a blanket statement. Polyaspartic is often useful as a topcoat because it can improve cure speed, UV stability, and top-surface wear. Epoxy is still the structural backbone for build, bond, moisture-barrier architecture, and many self-leveling applications. In commercial work, the better question is where each chemistry belongs in the system.
Can epoxy be installed over a slab with moisture vapor issues?
Sometimes, but only if the moisture issue is identified and the system is built for it. CCR uses vapor barrier epoxy when the slab condition calls for moisture mitigation. A standard finish coat does not magically solve vapor drive.
What facilities are a strong fit for epoxy?
Dry to moderately abusive manufacturing areas, warehouse support zones, service and maintenance spaces, selected public facilities, technical interiors, and many commercial rooms where a seamless cleanable finish matters. CCR’s history includes a a Bryan Construction epoxy-or-polish package, a City of Salida epoxy resurfacing project, and pharmaceutical epoxy urethane work for STAQ Pharma.
Can epoxy floors include slip resistance without becoming hard to clean?
Yes, but the texture needs to match the use case. Broadcast aggregate, flake systems, quartz, and aluminum oxide can all improve traction, but overspecifying texture can create a maintenance burden. CCR tries to match grip to the cleaning routine, traffic type, and safety expectation of the space rather than defaulting to the roughest possible finish.
Polished Concrete
What is polished concrete, and how is it different from a coating?
Polished concrete refines the slab itself through grinding, repair, densification, honing, and polishing until the concrete becomes the finished wear surface. A coating system places a resin layer over prepared concrete instead of turning the slab itself into the floor.
When is polished concrete a good fit?
Usually when the slab is sound, the environment is indoors, the floor is not routinely saturated with grease or harsh chemistry, and the owner wants a durable low-maintenance finish. CCR’s polished-concrete history includes dealership shops, schools, churches, offices, hangars, grocery spaces, restaurants, and industrial interiors.
Will polished concrete hide repair history?
No. Polished concrete usually keeps the slab honest. Cracks, patching, placement variation, and previous wear can remain visible because the slab itself stays exposed. That is why CCR evaluates the concrete before promising a finish image.
How is grind and seal different?
Grind and seal starts with similar prep but stops earlier, then uses a clear sealer as the final wear layer. It can lower initial cost, but the ongoing performance depends more on a topical finish that will eventually need maintenance. Polished concrete goes further in refinement and makes the slab itself the wear surface.
Does CCR control dust during polishing and grinding?
Yes. CCR’s line-item history references industrial HEPA vacuums paired with grinding work, along with cleanup procedures suited to occupied facilities. In commercial interiors, dust control is part of whether the project can proceed at all without disrupting adjacent operations.
Concrete Repair
Can damaged concrete usually be repaired instead of replaced?
In many cases, yes. CCR handles crack repair, joint grinding and filling, cementitious patching, epoxy mortar removal and replacement, dock repair, anchor-hole repair, and prep work that restores serviceability without forcing full slab replacement.
Why does repair usually come before coatings or polishing?
Because coatings and finish systems do not fix broken joint shoulders, weak patches, open cracks, failed repair mortar, or anchor damage underneath. Repair is the substrate-correction phase that protects the life of everything installed after it.
What do you use for joint filling?
CCR’s repair history includes commercial flexible polyurea joint fillers such as Euco Quikjoint UVR and, in heat-exposed conditions, high-temp silicone sealants. The right material depends on movement, traffic, and exposure conditions.
Can CCR repair old failed patching or epoxy mortar?
Yes. CCR has project history removing failed epoxy mortar with diamond blade tooling and HEPA dust control, then rebuilding the area with compatible patch materials. Coating over failed repair material is usually the wrong fix.
Do joint failures really affect forklifts and rolling traffic that much?
Yes. Broken joint shoulders and failed fillers create a repetitive impact point every time wheels cross the line. That accelerates edge damage, makes floors feel rough, and can stress both the slab and the equipment running over it. In active warehouses and plants, joint repair is often one of the highest-value concrete repairs available.
Urethane Cement
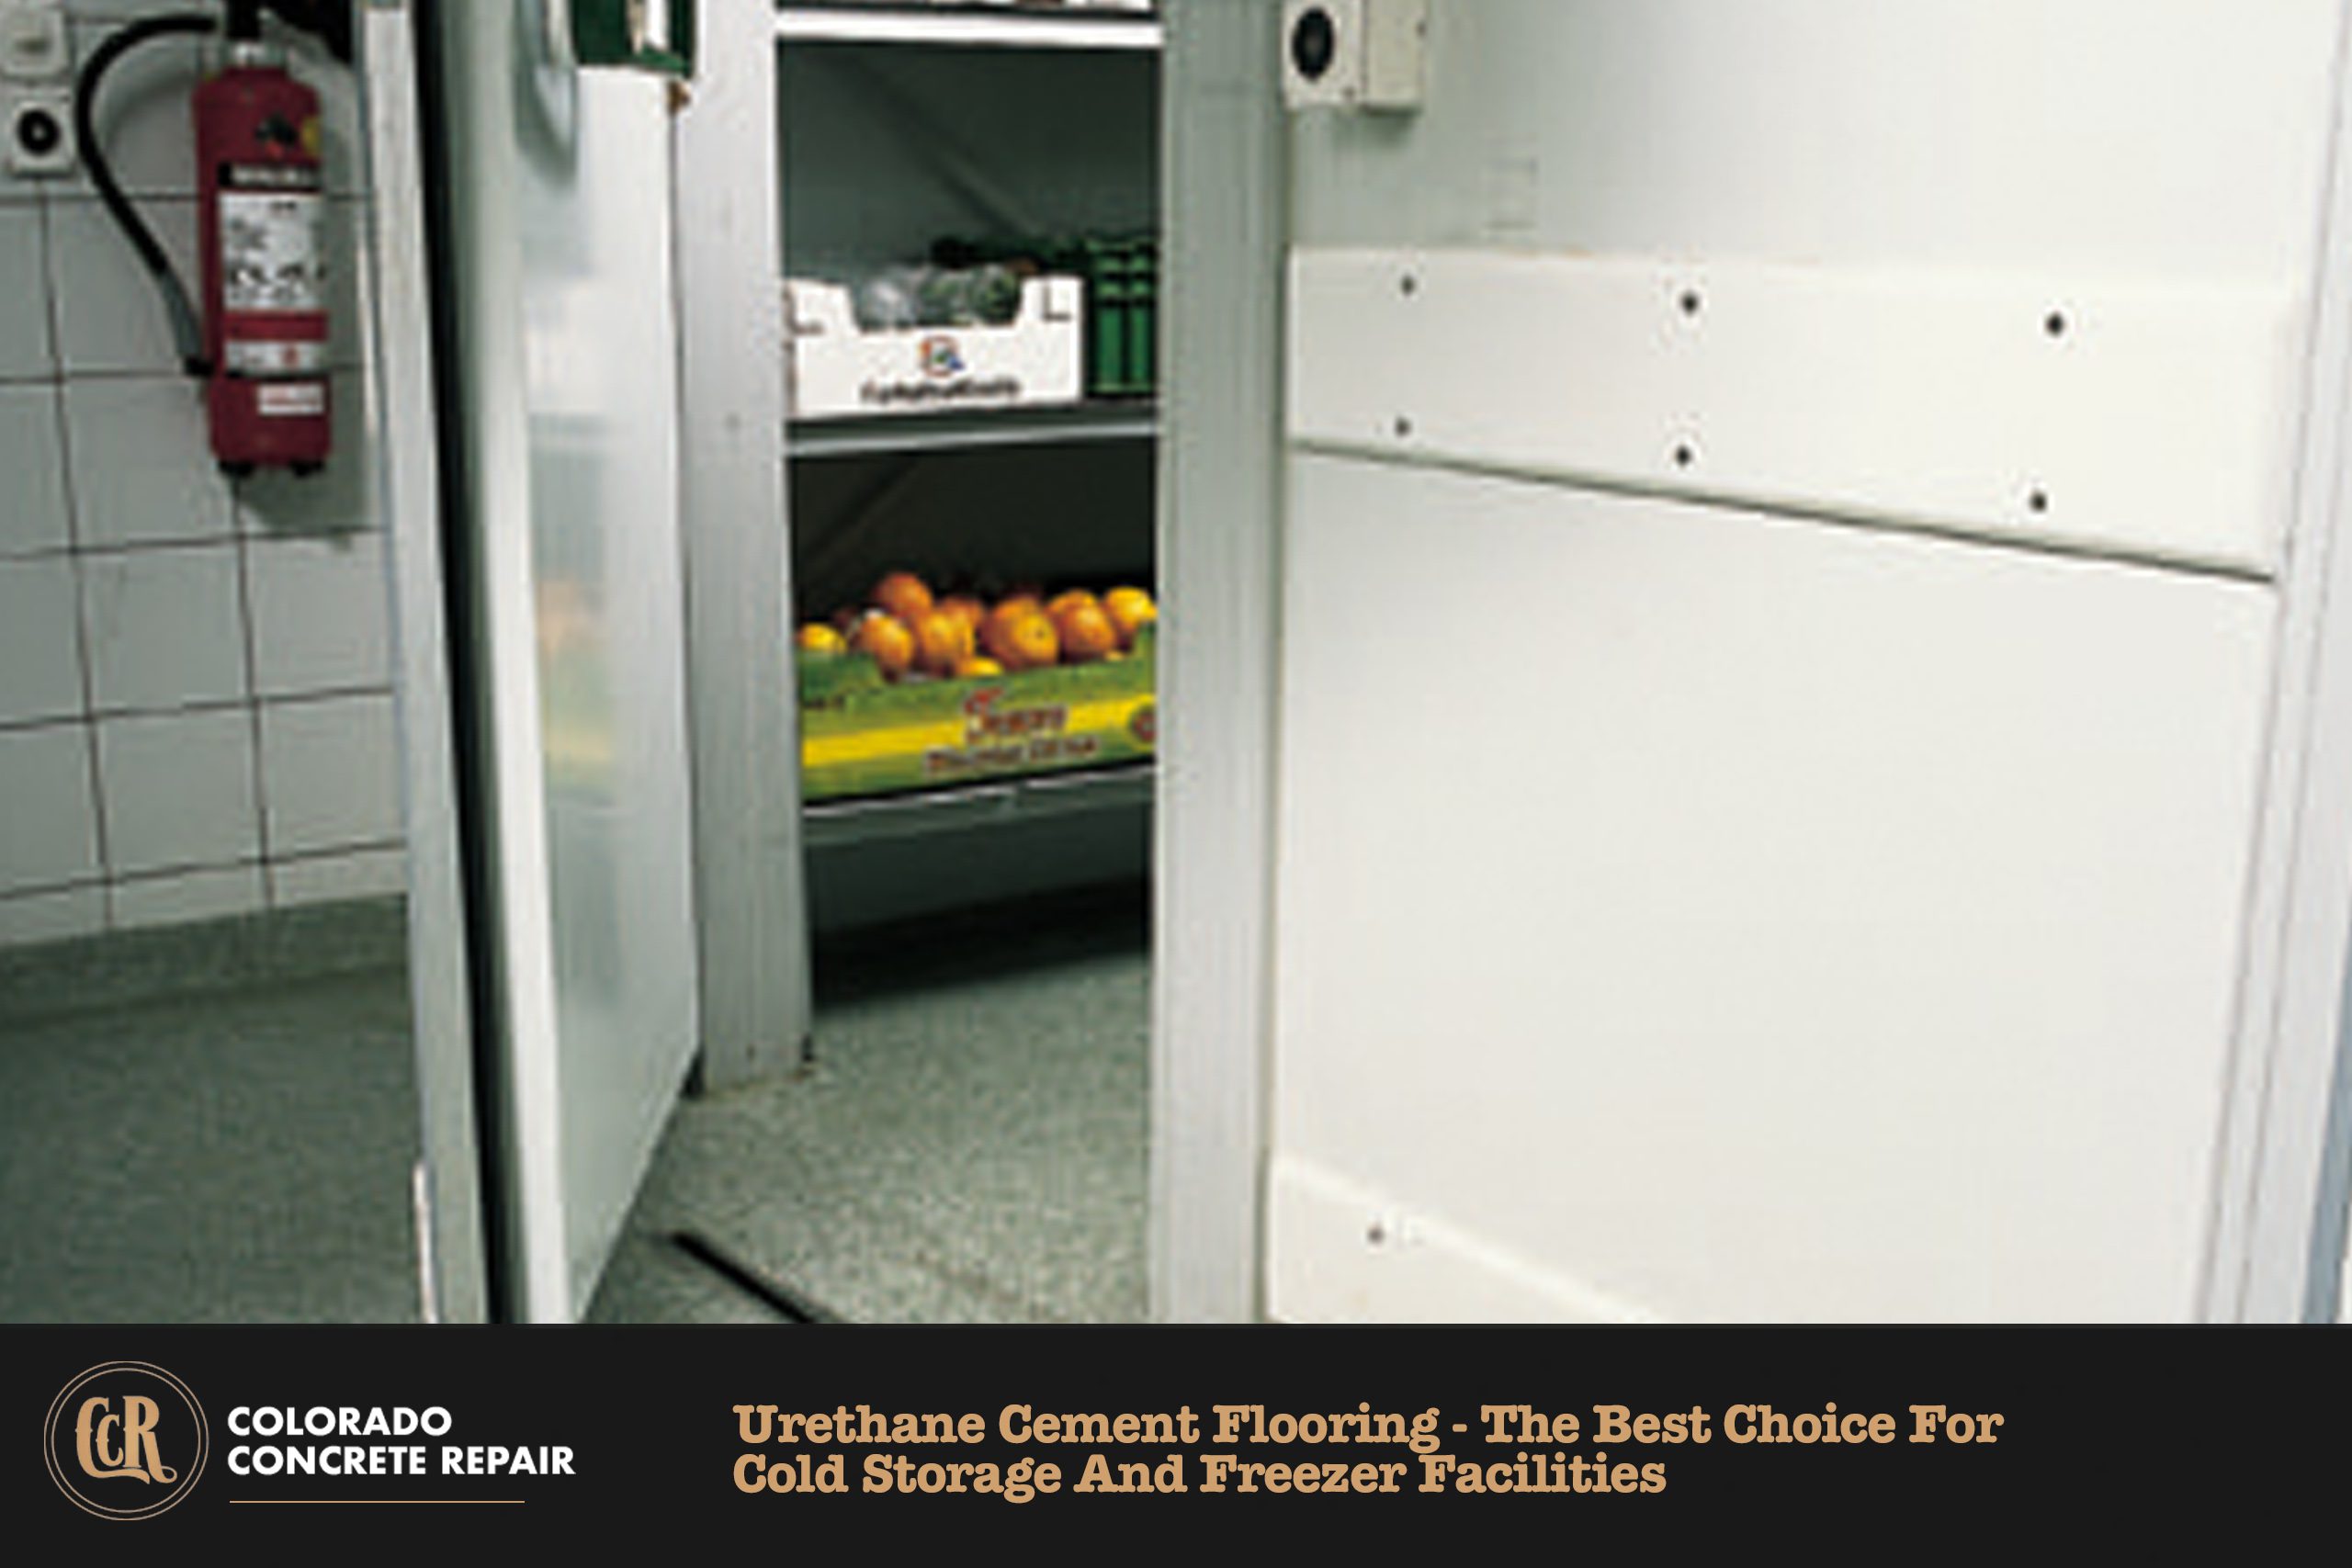
When is urethane cement the right choice?
Urethane cement is usually the better answer in wet process areas, food and beverage production, commercial kitchens, washdown zones, freezer transitions, and spaces exposed to thermal shock or heavier sanitation abuse. CCR’s Jobber history includes urethane cement work for Winter Park Resort and multiple food-related facilities.
Why does urethane cement cost more than standard epoxy?
The system is thicker, more demanding to install, and intended for harsher abuse. The real comparison is lifecycle cost and downtime risk versus repeated failure in wet, hot, cold, or washdown-heavy environments.
Can urethane cement be installed over an existing coating?
Sometimes, but not by default. Existing coatings have to be reviewed for bond, contamination, thickness, and compatibility. In many failure cases, full removal back to sound concrete is the correct path.
Is urethane cement always the right choice for food and industrial flooring?
No. Some dry warehouses, support corridors, packaging spaces, and secondary rooms may be better served by epoxy or another system. Good specifications often combine systems by zone instead of overbuilding every room with one product family.
What makes urethane cement different in temperature-swing environments?
It is better suited to absorb thermal shock and repeated temperature changes than standard high-build epoxy. That is why it appears so often in kitchens, washdown zones, food production, and cold-transition environments where hot cleaning or temperature cycling can break a less appropriate system.
Process & Pricing
How is pricing determined?
Pricing depends on square footage, access, slab condition, amount of prep, repairs, moisture mitigation, system thickness, finish type, phasing, and downtime constraints. A clean open slab is priced very differently from an occupied renovation with multiple work zones and heavy prep.
Why can’t accurate pricing be given from photos alone?
Photos rarely show contamination, moisture vapor issues, weak patches, coating thickness, joint condition, levelness, or access restrictions clearly enough to scope the project responsibly. A site assessment reduces the chance of pricing the wrong problem.
Do all rooms in one facility need the same flooring system?
Usually no. A clean manufacturing room, a wet utility area, a warehouse support zone, and a front-of-house public area can each require different finish logic. CCR often scopes systems by room use, exposure, and maintenance demand rather than forcing one product across the whole building.
How much does schedule pressure affect system choice?
A great deal. Some owners need an aggressive return-to-service window, while others can tolerate a weekend shutdown or a phased room-by-room schedule. Cure time, access restrictions, odor tolerance, occupant sensitivity, and turnover deadlines can all push the recommendation toward a different assembly. A system that is technically ideal on paper may still be the wrong answer if the facility cannot support the installation sequence.
What is the best next step if we are comparing repair versus replacement versus a new finish?
Schedule a site assessment. CCR can review the concrete condition, identify what is cosmetic versus structural, and determine whether the floor needs repair only, repair plus a finish system, or a larger replacement conversation. That saves time compared with pricing three hypothetical paths without seeing the slab.
The most useful pattern across these FAQs is that flooring decisions are rarely isolated from the rest of the facility. Moisture conditions affect coatings. Repair quality affects polished concrete. Cleaning methods affect traction and topcoat choice. Traffic and cure windows affect phasing. That is why CCR’s service pages keep returning to prep, repairs, and system fit. It is not filler. It is how commercial floors are actually won or lost.
If you are evaluating multiple options, the safest move is usually to define the environment first, then select the system. Start with the slab, the traffic, the moisture, the chemistry, the cleaning routine, and the shutdown tolerance. Once those are clear, the right answer tends to narrow quickly — whether that answer is epoxy, urethane cement, polished concrete, repair work, or a phased combination of several scopes.
Need an answer tied to your actual floor?
CCR can review the slab, exposure conditions, repair history, and operating constraints during a site assessment so the recommendation fits the facility instead of the marketing brochure.